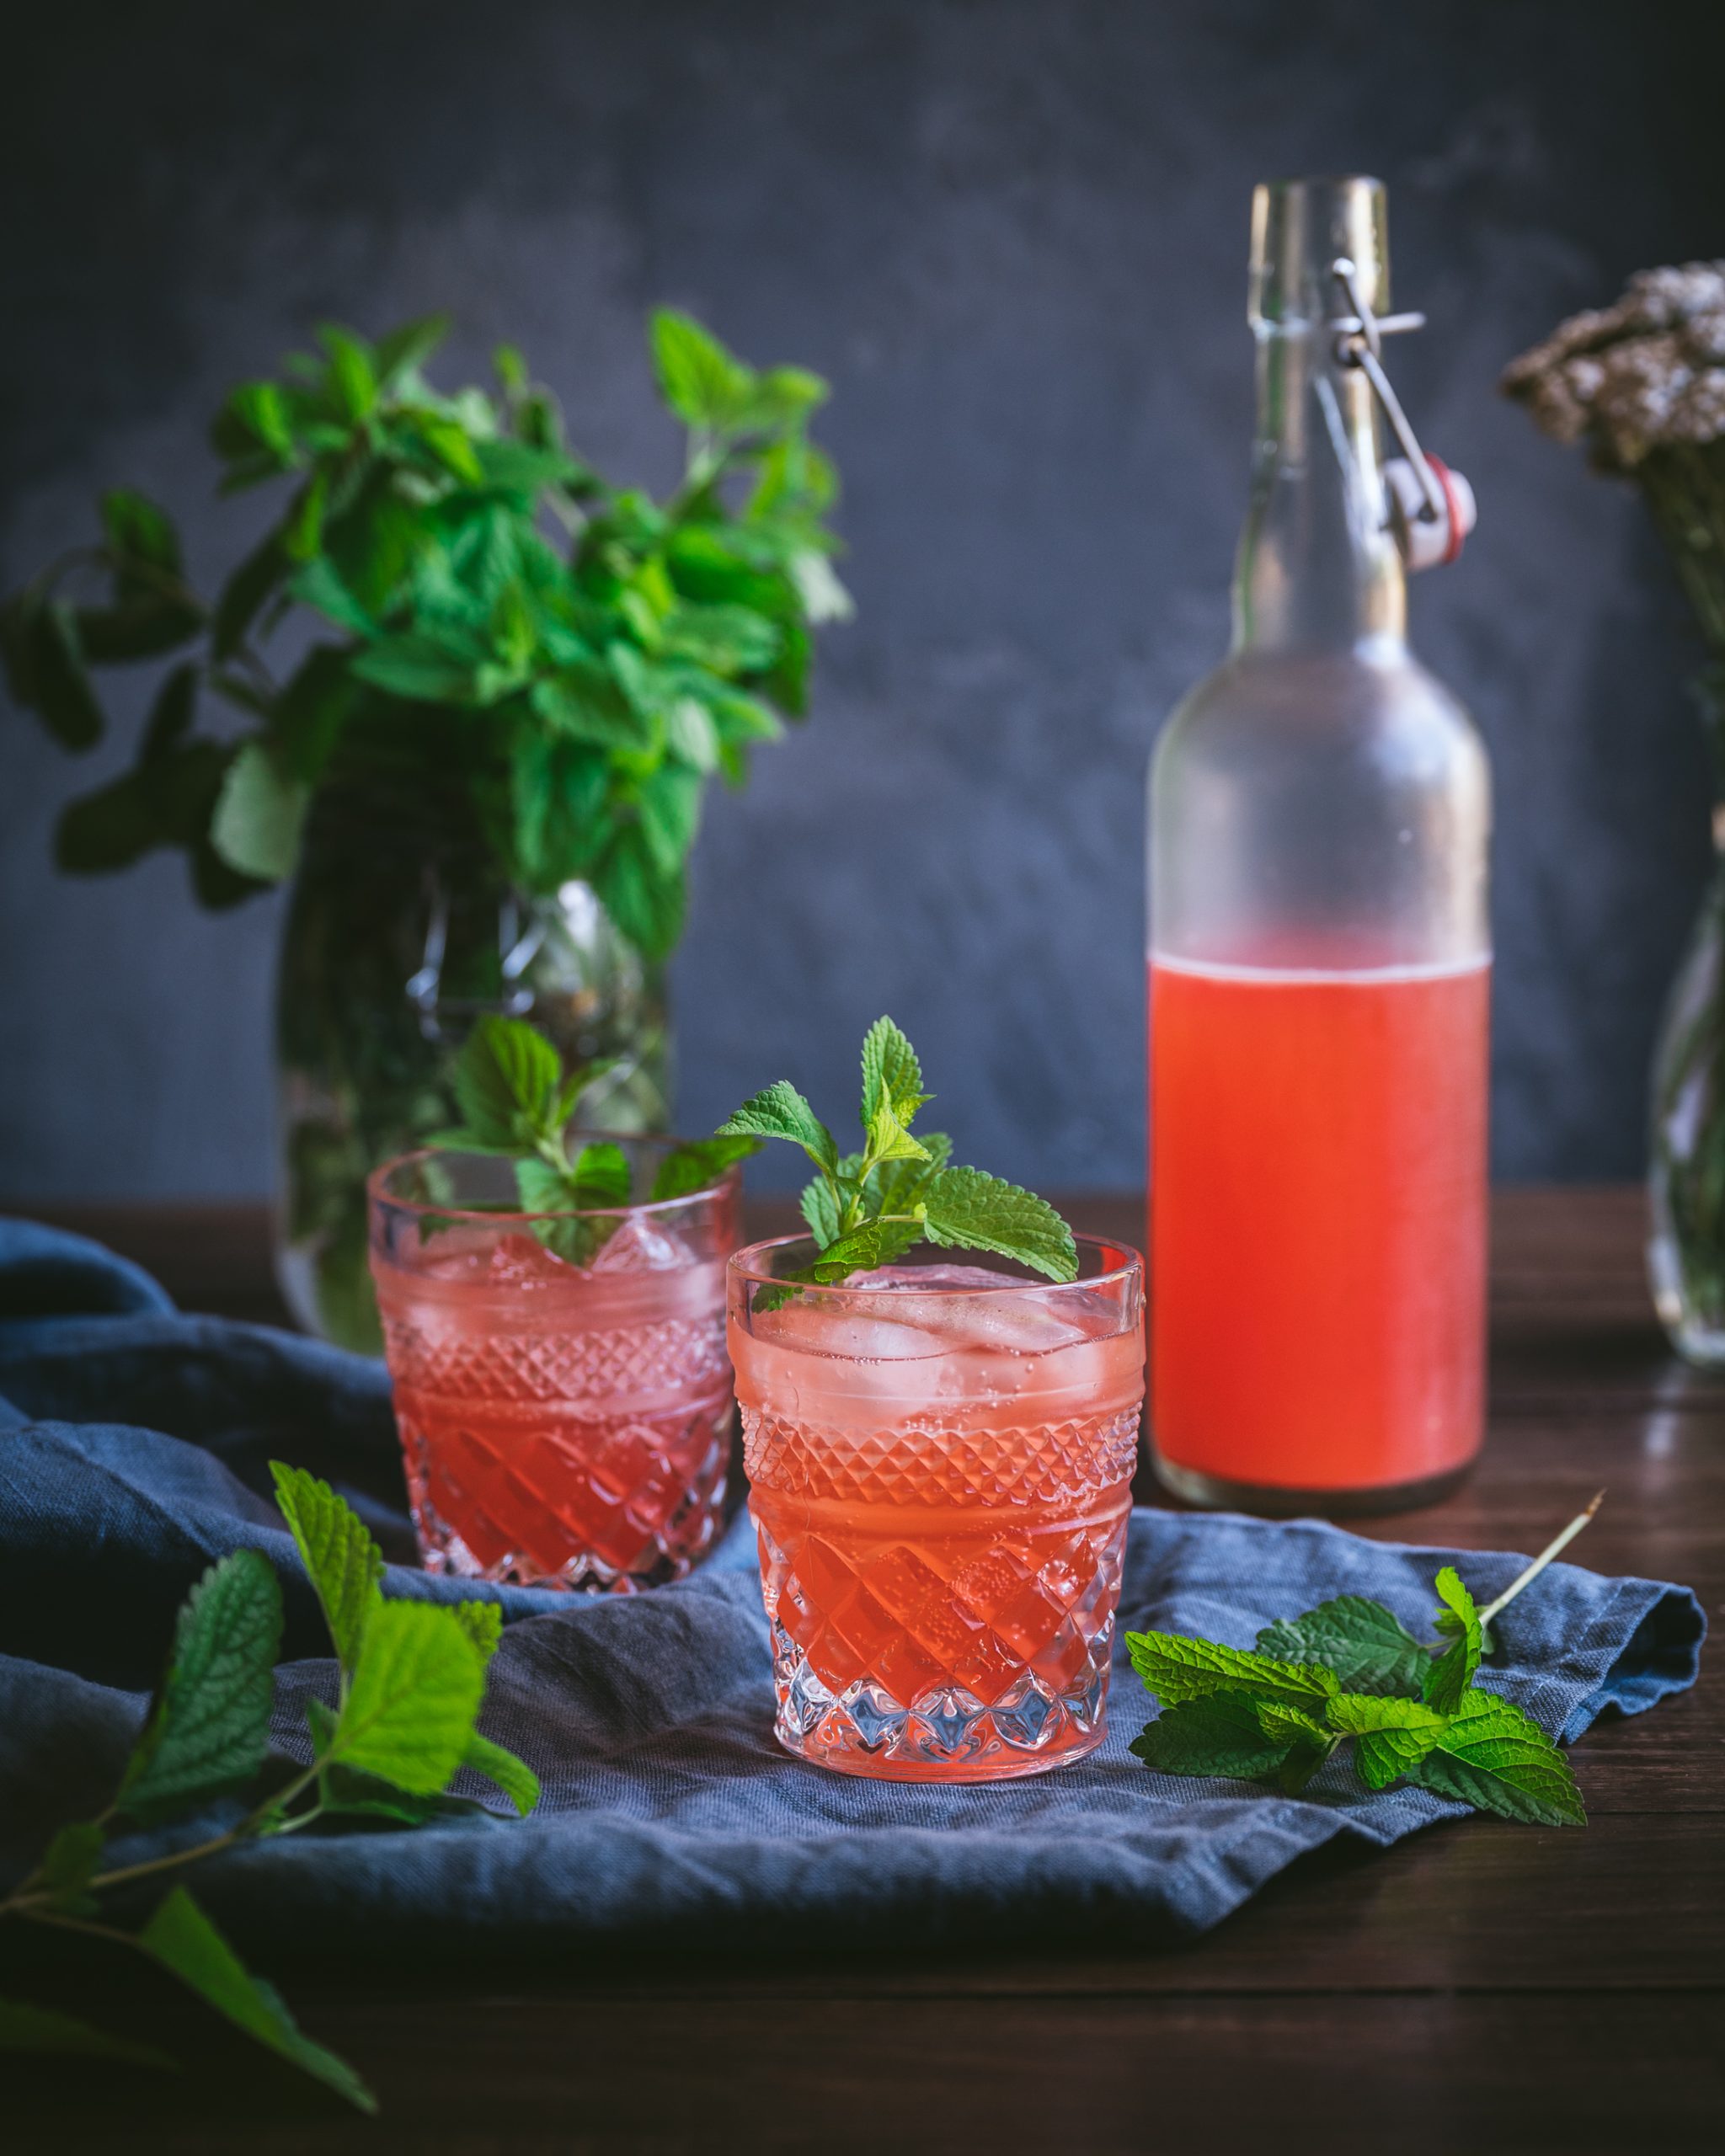
The most refreshing summer drink ever. Sparkling, tart, with just a hint of sweetness, this wild fermented soda is easy to make and delicious to drink!

Sweet, juicy strawberries are paired with mint, lemons, and a hint of spice from a ginger bug to create a fizzy drink. Fermented strawberry lemonade is low alcohol (no more than a kombucha) and ready to drink within a couple of days.
This is a short fermentation period of no more than 24-48 hours before straining the lemonade and bottling. Then, the bottles are kept at room temperature for another day or two to build carbonation.
Wild fermented strawberry soda may be one of the most delicious ways to enjoy fermented foods. It’s especially good for kids or others who may not love sauerkraut or kombucha.
Packed with vitamins, fiber, and high levels of antioxidants, strawberries are as potent as they are delicious. Lemons are loaded with vitamin C and minerals many of us are lacking.
By fermenting the lemonade, you add lots of healthy probiotics which may help improve digestion and restore healthy gut flora in the intestines.
WHAT GOES IN FERMENTED STRAWBERRY LEMONADE?

Strawberries — Choose fresh strawberries that are juicy and sweet for the best tasting lemonade.
Mint — Gather a handful of fresh mint from the garden or your nearest foraging spot.
Lemons — Look for unwaxed lemons are remove the wax by placing the lemons in a colander and washing with boiling water.
Ginger Bug — You will also need a ginger bug to make fermented strawberry lemonade. A ginger bug is a wild yeast starter made with ginger, water, and sugar and takes up to a week before it’s ready. Learn how to make a ginger bug here.
Sugar — Use organic cane sugar or honey in this lemonade for the best taste. Don’t be alarmed by the amount of sugar in the recipe. The yeast feeds on the sugar and quickly reduces the sugar content. The longer you let the lemonade ferment, the less sugar there will be.

HELPFUL EQUIPMENT
You don’t need much equpment to make delicious fermented beverages at home. Folks have been brewing at home for centuries, using primitive methods and tools. Nowadays, the process of brewing can be quite involved with lots of complicated equipment.
However, I like to enjoy the process and resulting beverages, without worrying overmuch about fancy equipment and brewing methods. Here’s a list of equipment, most of which you probably already have, to help get started brewing homemade sodas:
- 1 gallon jar
- Two medium mixing bowls
- Measuring cups
- Kitchen scale
- Long wood spoon
- Knife and cutting board
- Tightly woven cloth and string or rubber band to secure it
- Fine mesh strainer
- Funnel
- 6 to 7 flip-top bottles
- Airlock lid for a gallon jar (optional)
HOW TO MAKE FERMENTED STRAWBERRY LEMONADE

1. PLACE INGREDIENTS IN A CLEAN GALLON JAR
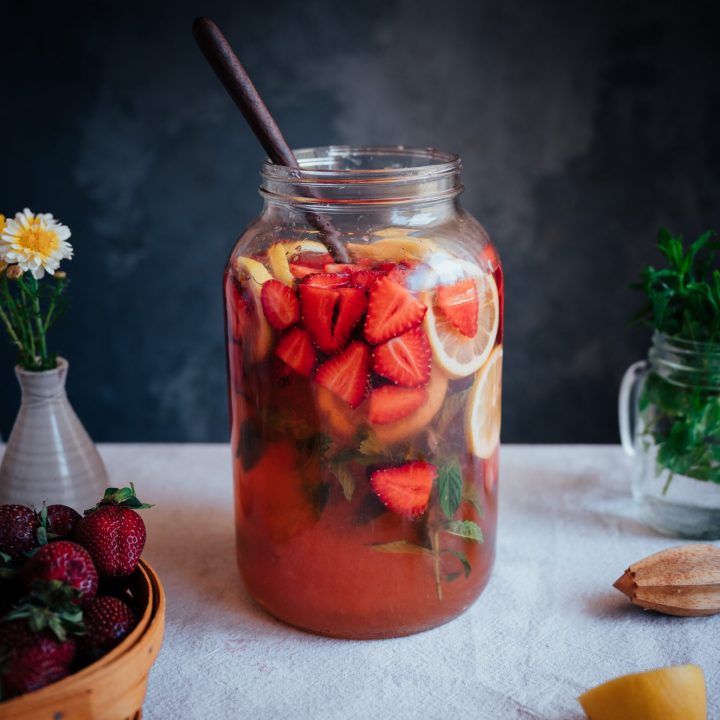
Slice the strawberries and place them in a clean 1 gallon jar. Juice the lemons and add them to the jar. Add the lemons too for good measure. Add a handful of fresh mint, sugar, and water. Mix until the sugar is dissolved.
Wild fermented strawberry soda is a cold infusion process, meaning no heat is used at any point to make the soda. Strawberries and mint taste better fresh, hence the reason for cold brewing.
After doing the cold infusion to extract the flavors, you take the resulting infusion and ferment it for a couple days before drinking. This is the part that makes the soda fizzy.
2. ADD GINGER BUG
You need to add a source of yeast to help get the fermentation started, either from a ginger bug or a little white wine yeast.
Remove the ginger bug from the frige the night before you want to use it and feed it with 1 teaspoon sugar, 1 teaspoon fresh ginger, and 1 teaspoon water. Leave it out a room temperature so it can become active.
The next morning, strain out 1/2 cup of liquid, leaving the pieces of ginger behind. Pour into the gallon and mix well. Cover the gallon with a tightly woven cloth to keep out insects and dust and let it ferment.
If using cheesecloth to cover the jar, make sure to double or triple it to keep all the insects out. Another option is to cover the gallon with an airlock lid if you have one. These can be purchased at brew supply stores or online and are very useful for for making fermented beverages.

3. FERMENT FOR 12-24 HOURS
Ferment the lemonade on the counter for 12 to 24 hours. Monitor the fermentation closely during the time and mix it several times a day with a clean spoon.
You will notice bubbles rising to the top when you mix them lemonade within a day or two. This is a good sign that the fermentation is active.
You don’t want to let this soda go for too long before straining out the strawberries. That’s because strawberries tend to spoil quickly at room temperature.

4. STRAIN LEMONADE
Keep a close eye on the strawberries and strain the fermentation before they begin to look mushy and smell spoiled. Depending on how warm it is, this might be at 12 hours and definitely no longer than 24 hours.
The lemonade should taste slightly sweet and with just the right amount of carbonation but very little if any alcohol. The next step is to bottle the infusion and ferment it a bit longer to build carbonation.

5. BOTTLE LEMONADE AND CARBONATE
Use a funnel to pour the fermented lemonade into clean flip-top bottles. You will need 6 to 7 17oz. bottles (or 4 24 oz. bottles) for one gallon of lemonade.
Let the bottles sit on the counter for 8 to 12 hours to build pressure. Check the pressure by opening the top. This is still an active fermentation so the pressure will build quickly, especially when it’s hot in the summer.
Flip-top bottles can explode if to much pressure builds inside!
Once the lemonade is fizzy, store the bottles in the refrigerator. This slows down the fermentation greatly, and the pressure will still build but very slowly. Enjoy fermented strawberry lemonade chilled over ice. It’s ready to drink immediately.
Would you try this? Let me know in the comments if you make fermented strawberry lemonade this summer!


Fermented Strawberry Lemonade
The most refreshing summer drink ever. This fermented strawberry lemonade is sparkling, sweet, and delicious on a hot summer day.
Ingredients
- 1 lb. Strawberries, sliced
- 250 g sugar
- 4 lemons
- Handful of mint
- 2.5 quarts water, non-chlorinated
- 1/2 cup ginger bug starter
Instructions
- Juice 3 lemons into a 1-gallon jar. Slice the remaining lemon and add to the jar.
- Add the sliced strawberries, sugar, and 2.5 quarts of water into the jar.
- Use a clean wood spoon to mix well until the sugar is dissolved,
- Strain out about 1/2 cup of ginger bug starter and add it to the jar.
- Top off the gallon with extra water as needed to fill the jar to the top, leaving a couple inches of space at the top.
- Cover the jar with a tightly woven cloth and secure with string or a rubber band. Optional: use an airlock lid for the gallon jar.
- Ferment the lemonade at room temperature (between 65 and 78 degrees F or 18 to 25.5 C) for 24 to 48 hours.
- Monitor the fermentation and you should see signs of fermentation within a day or so. When you mix the lemonade, you should see bubbles at the surface.
- Mix with a clean spoon two or three times a day. Don't let the fermentation go past 48 hours or the strawberries can develop spoiled flavors.
- Strain the lemonade into a clean container using a mesh strainer.
- Bottle the lemonade into clean flip-top bottles or other bottles of your choice.
- Let the bottles sit on the counter for another 8 hours to build pressure. Release the pressure by opening the top after 8 hours. If there's not enough pressure, let ferment another 8 hours.
- Transfer to the refrigerator once nice and bubbly, which greatly slows down the fermentation. Enjoy!
Notes
Flip-top bottles can explode if left too long on the counter with an active fermentation in them. To avoid this, place the bottles in a safe location such as in a box or cabinet so the mess is contained should an explosion occur.
Release the excess pressure frequently, especially if it's warmer to avoid this happening. Once you transfer the bottles to the fridge, this slows down the fermentation (but pressure will still build slowly) so be careful when opening!
No Comments